

The Silver Stripe of Doom: What That Silver Bar on Your Yamaha AR Screen Means

A 2023 Yamaha AR came through our Fort Myers shop with a textbook case of Connext 7 delamination: a shiny silver stripe stretched across the top of the display, with watery streaks creeping in behind it. Owners usually describe it as water trapped inside the glass. In this guide we break down what that silver stripe actually is, why these screens tend to separate, and the two ways to fix it permanently for thousands less than a new unit.
- What the Connext 7 (PV700-TCS) display is and which boats use it
- The 4 failures we frequently see on these units
- Why the OEM bonding lets go
- How to remove the display from the dash
- Why our anti-delamination design outlasts OEM
- 2 ways to fix it and save $2,500+
What Is the Yamaha Connext 7 (PV700-TCS)?
One display, many names, many dashes
Behind the helm of 2019 and newer Yamaha jet boats sits a 7 inch touchscreen that Yamaha calls the Connext 7 (Gen 2). The display itself is built by Murphy/Enovation Controls and goes by PV700-TCS or HV700-TCS. The very same unit shows up on Mastercraft dashes (the "Scallywag" display), Supreme Omnitouch 7 helms, and ATX XPerience 7 control centers. If your part number matches any of the chips below, this guide applies to your boat.
4 Common Failures We Frequently See
If any of these look familiar, your screen is delaminating
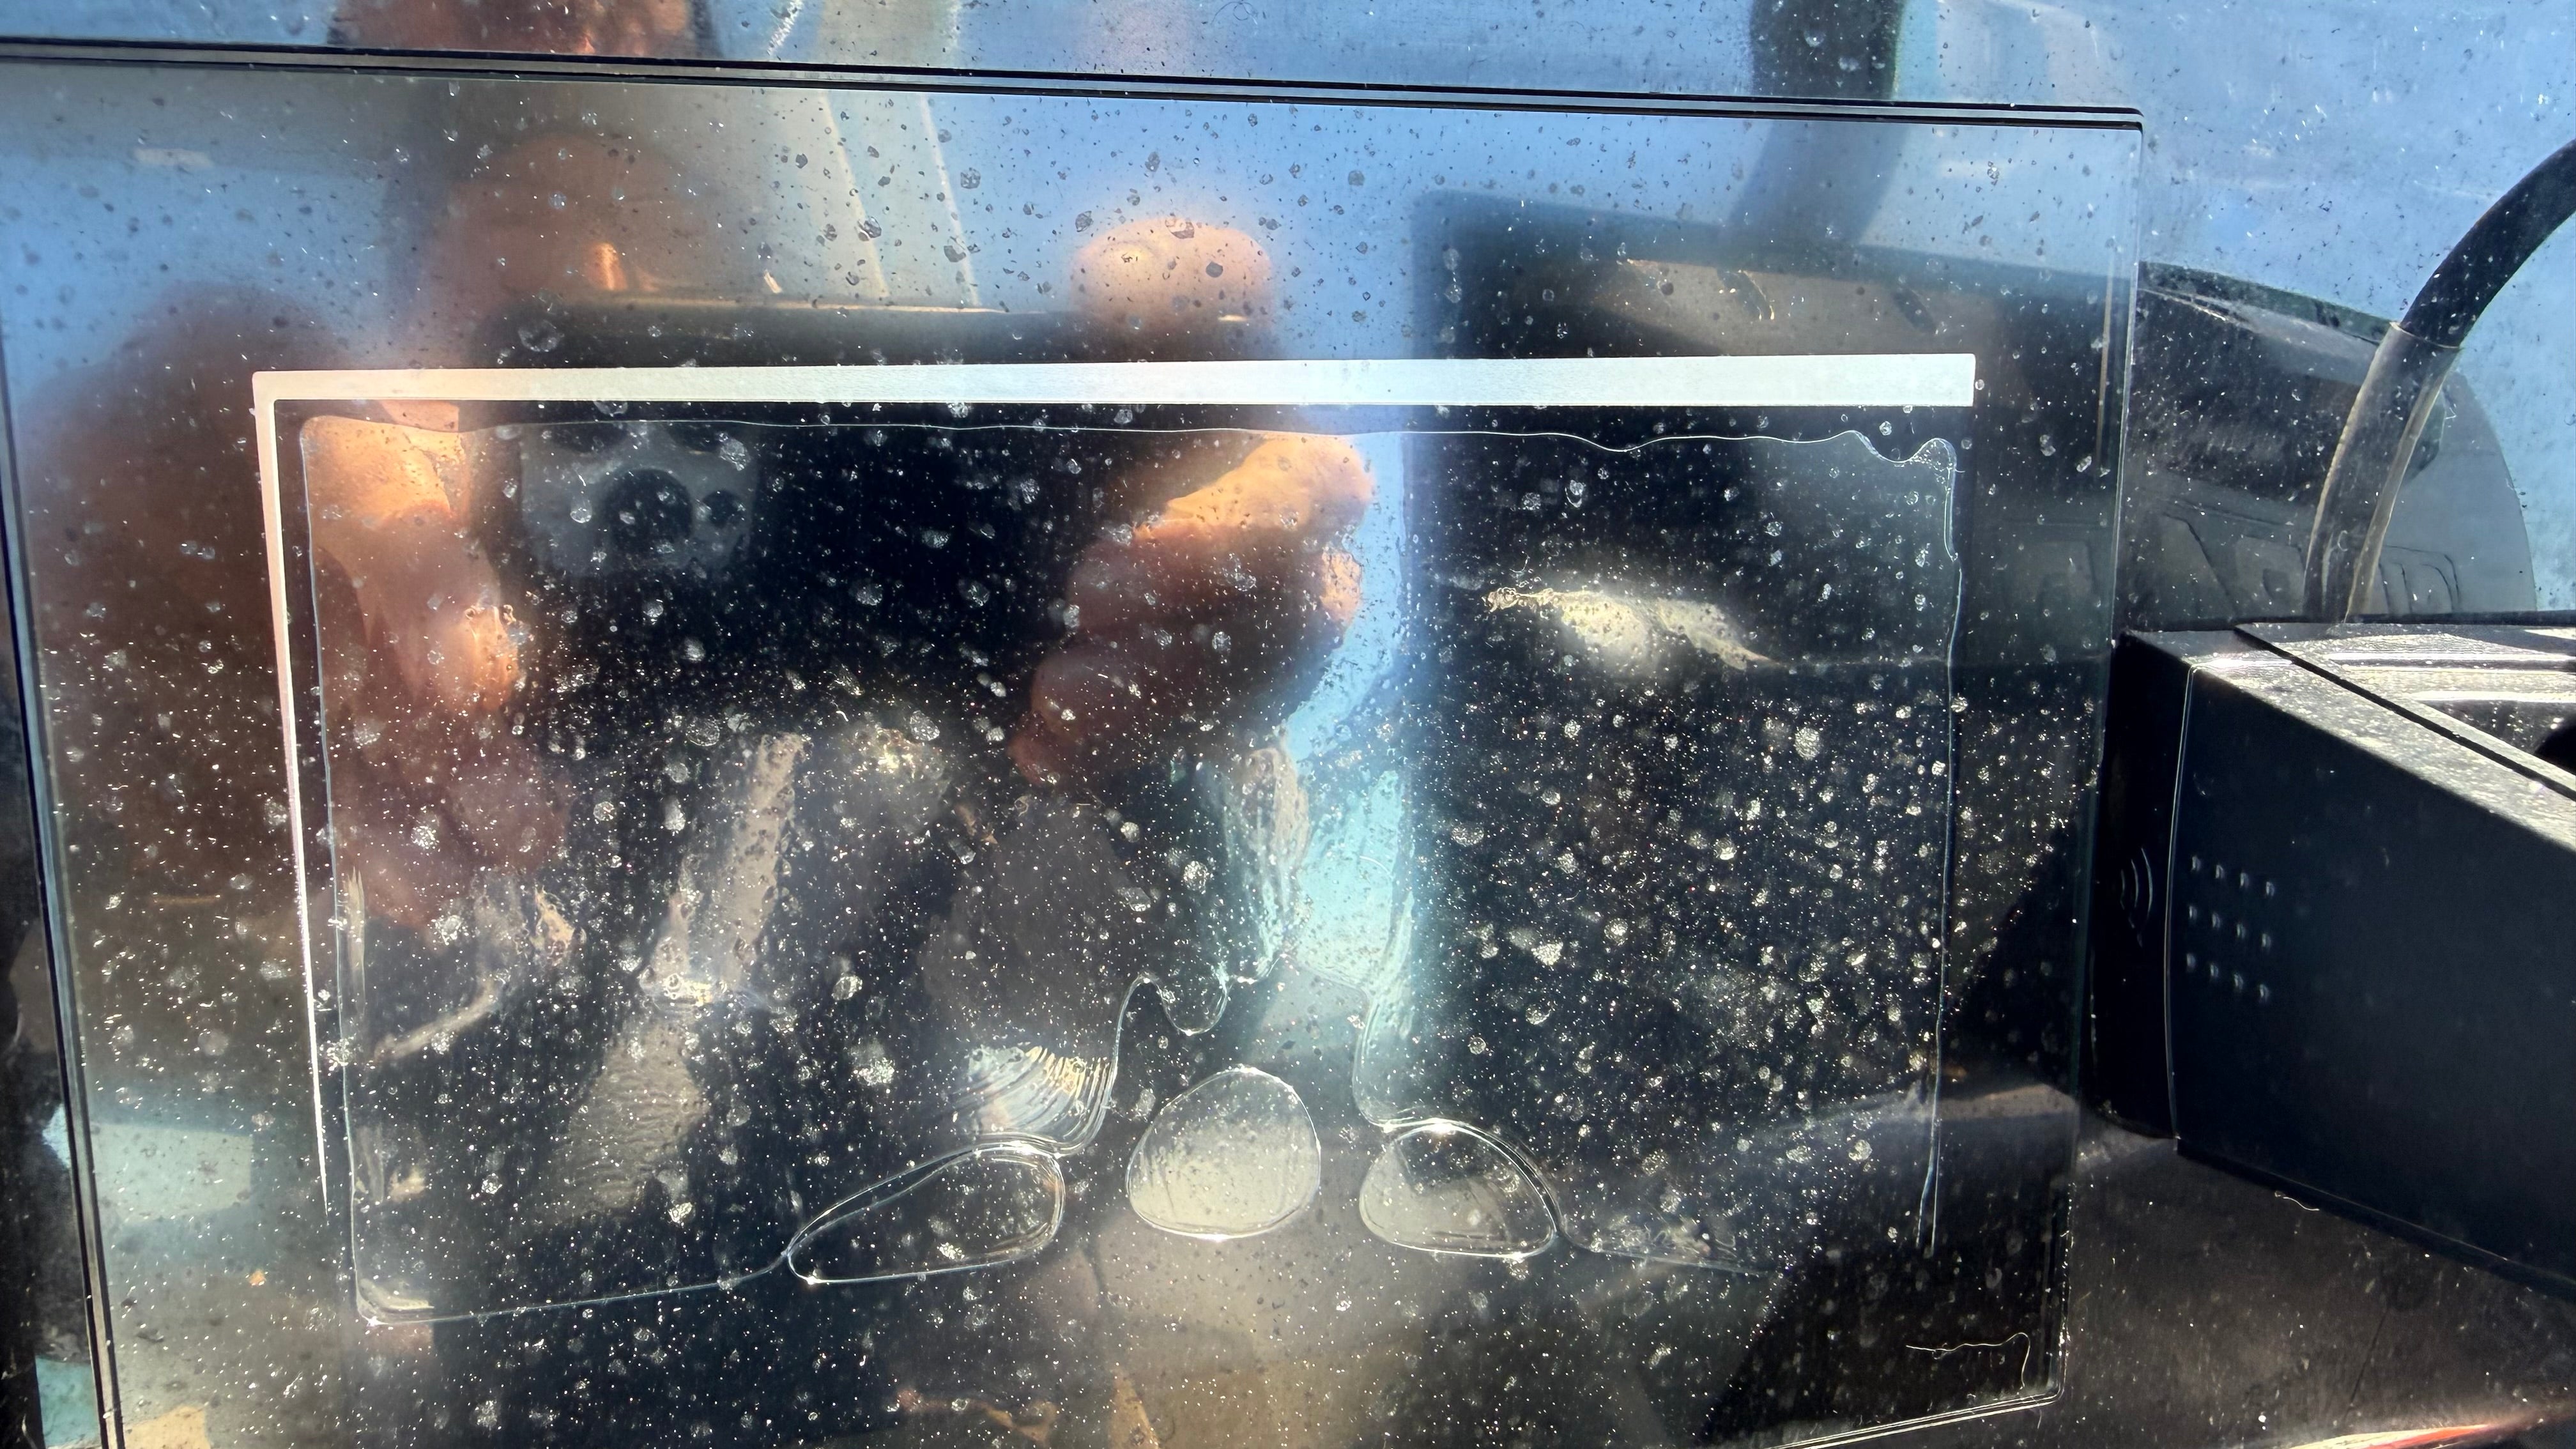
The Silver Stripe of Doom
A mirror-like silver bar appears across the top of the screen as the layers separate and the LCD pulls away from the glass. This is usually the first thing Yamaha AR owners notice.
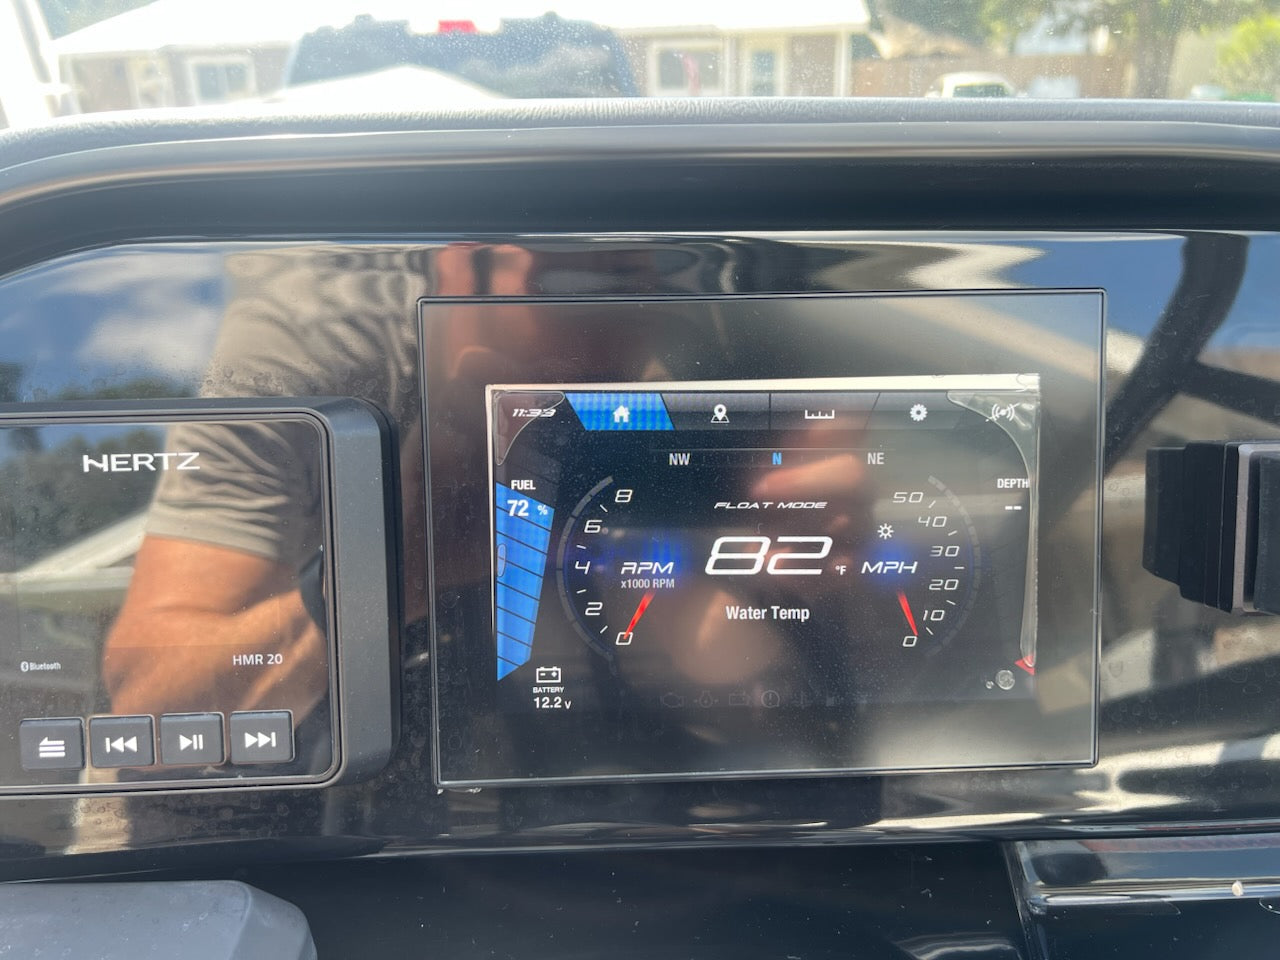
Watery Blobs and Streaks
The optical bonding glue liquefies and leaks, leaving what looks like water or liquid trapped inside the glass, spreading from the edges and corners inward.
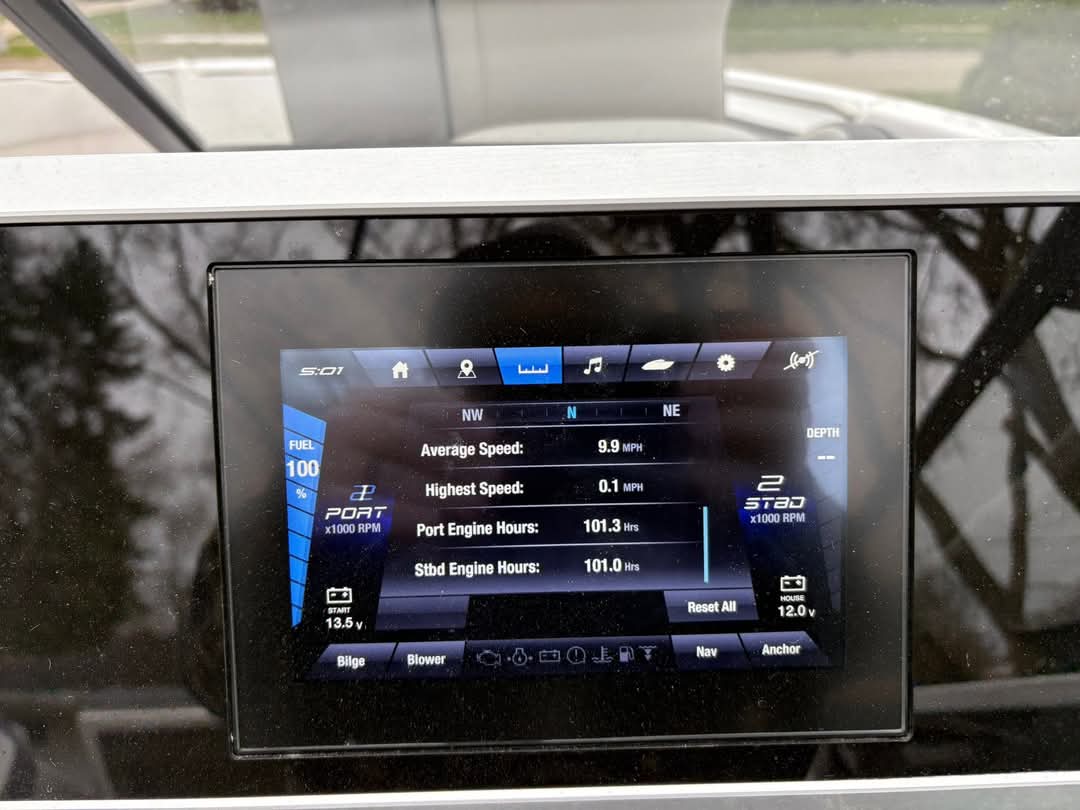
Peeling or Lifting Border
The perimeter of the screen starts to peel or lift as the bond fails around the edges. Once the border opens up, water intrusion becomes a real risk.
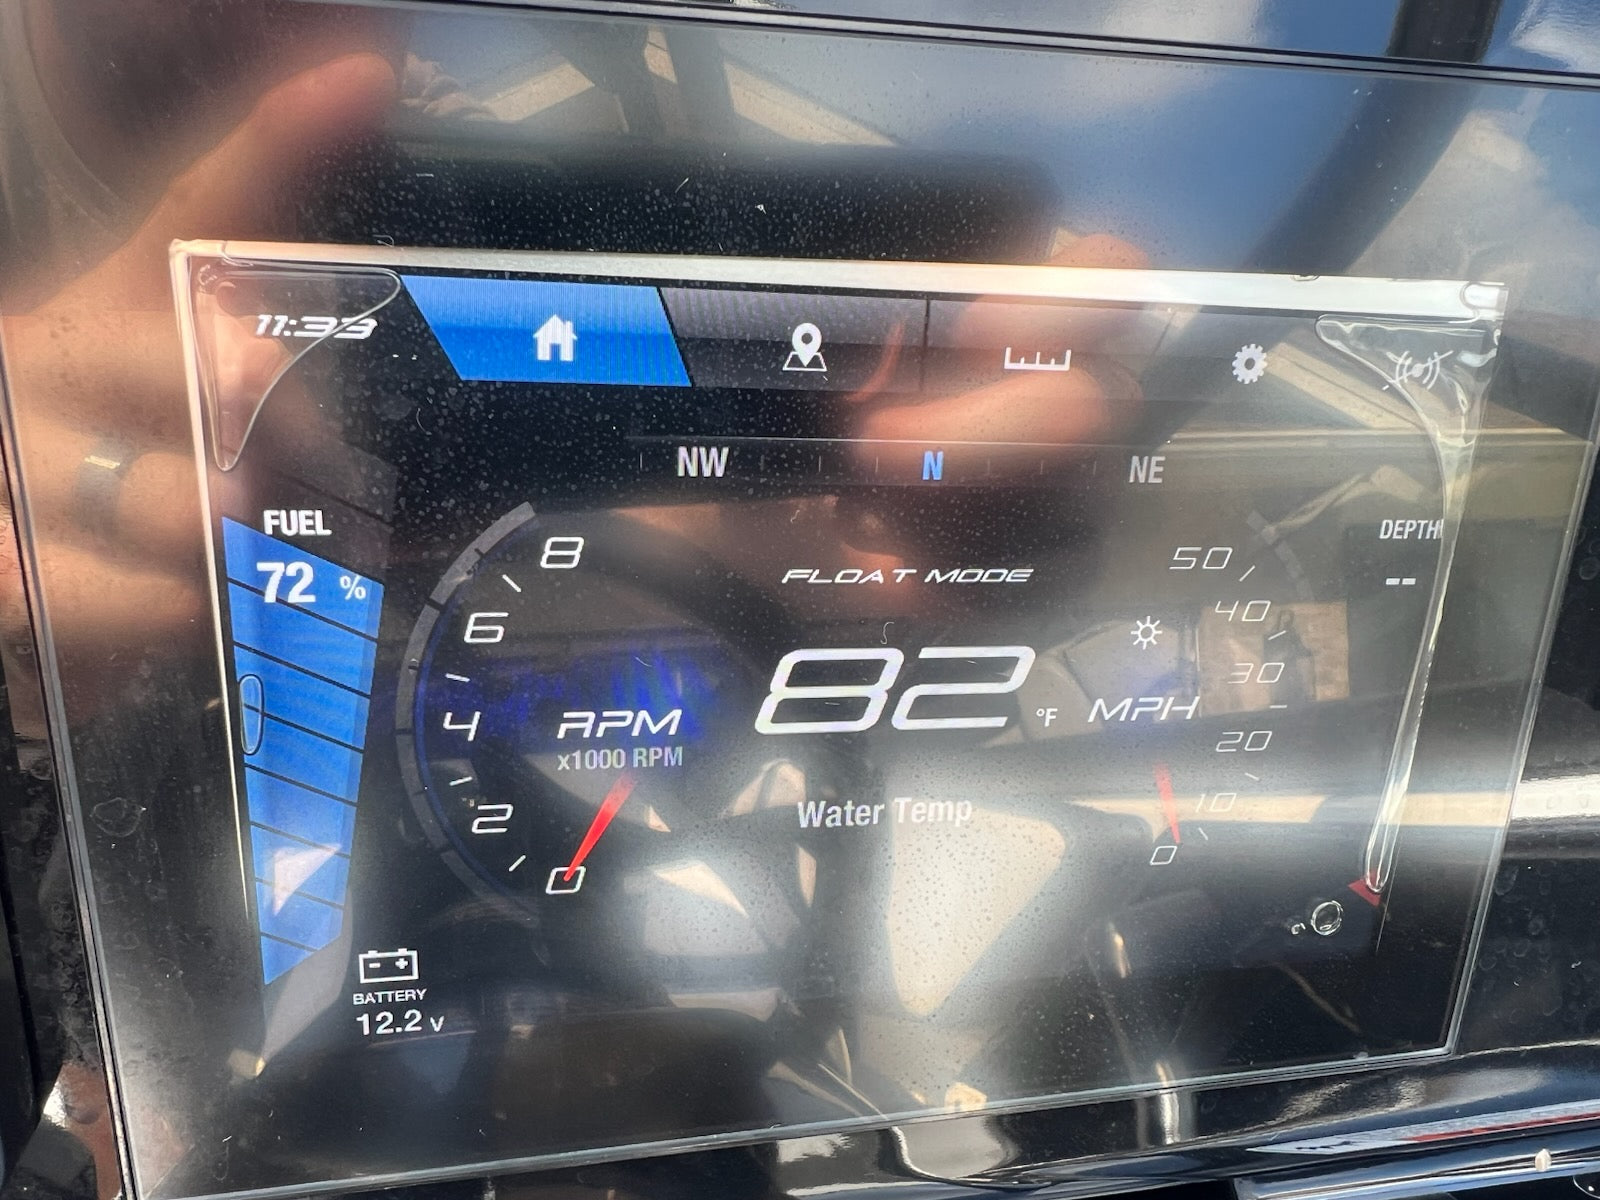
Frozen or Erratic Touch
Touch may stop responding, respond in the wrong spots, or act like it has a mind of its own. A dark or dim display often shows up alongside it.
Our step by step repair process for the PV700 / Connext 7 Gen 2
Why the Connext 7 Delaminates
Heat, UV, and vibration vs. the OEM bond
It comes down to the choice of bonding materials and the manufacturing process. The original units use an optically bonded cover glass, and the adhesive holding that sandwich together has been known to break down in the harsh marine environment. Heat cycles bake the helm all day, UV works on the adhesive, and constant vibration flexes the layers every time the boat runs.
Once the bond starts to fail, the glue liquefies and drains downward. The layers separate, watery streaks spread through the glass, and the silver stripe appears at the top where the LCD has pulled away. To survive vibration and heat long term, a perfect bond with durable materials is required, and that is exactly where the OEM design tends to fall short.
How to Remove the Display
About 15 minutes with basic hand tools
- Pry the chrome bezel away from the glass with a plastic pry tool. It is held by tape around the screen perimeter.
- Remove the 4 phillips screws to free the black mounting plate from the dash.
- From the back of the unit, disconnect the yellow RCA video plug and the 6 pin connector.
- Remove the 2 nuts and the bracket securing the display to the black plate.
Full removal and DIY installation walkthrough for the F4Y-U8K12-11-00 (PV700)
What Owners Get Back
Same unit, brand new screen, zero programming
The same unit that left your boat comes back with brand new display components behind your original housing and motherboard. All of your settings remain the same, there is no programming step, and no dealer visit is required. Most mail-in repairs are tested and on their way back in 3 days or less.
The updated 800 nit LED backlight means the screen typically comes back brighter than the day the boat left the showroom, with an anti-glare, anti-fingerprint finish that stays readable in full sun and with polarized glasses on.
Why Our Design Outlasts OEM
We replace the defective OEM components with our updated anti-delamination design using brand new parts
2 Ways to Fix It
Both save $2,500+ vs dealer replacement
Mail-In Repair Service
Place your order and a pre-paid mailing label arrives by email (USA only). We replace the defective OEM components with our updated anti-delamination design using brand new parts, test the unit, and ship it back in 3 days or less. Pay after repair is available.
Order the Mail-In RepairDIY Repair Kit
For technicians and confident DIYers. We ship the replacement LCD and bonded digitizer along with the tools and step by step instructions. Very similar to replacing a phone screen, and the installation video above walks through every step.
Order the DIY KitEither option saves you $2,500+ compared to dealer replacement, where new units have been quoted at $4,000, and even online parts dealers ask $2,700 or more for a new display that still carries the same old design.
Send the Silver Stripe of Doom Packing
Get your Yamaha AR's screen fixed permanently with our anti-delamination design, built and tested in Fort Myers, Florida. Questions about fitment? Call 239-237-7377, 9 to 5 EST.
Fix My Screen